Problem: A manufacturer was using a two-step process to inspect and accumulate parts prior to the final machining operation. The process required double the manpower and introduced possible errors by mishandled parts. Each part was presented to a camera and another robot-mounted camera to detect outside diameter and hole size. Part height was not able to be checked for every part because all inspections were performed from above the part. Parts were then taken to another machine to be racked into a circular ring. Each ring contained between 75-230 parts which were then taken to the next operation for processing. The changeover of parts was all keyed in by hand and included 20 different part numbers. The customer wanted to eliminate human error in this procedure, increase their efficiencies and reduce the manpower hours behind this process.
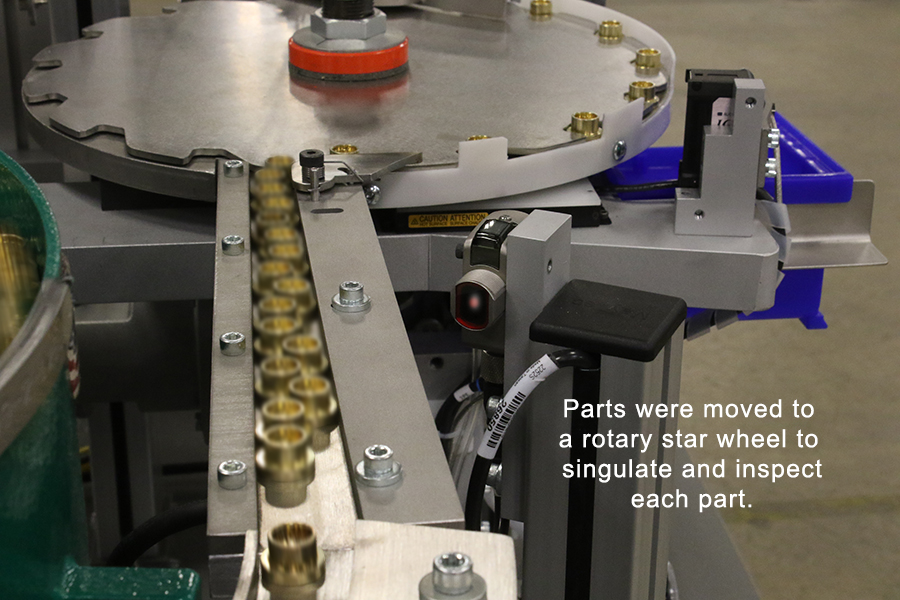
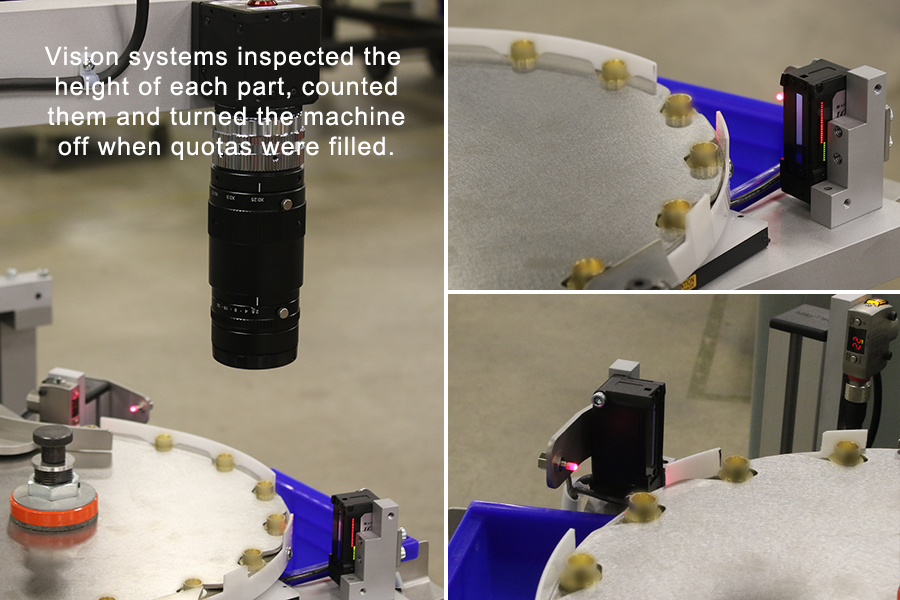
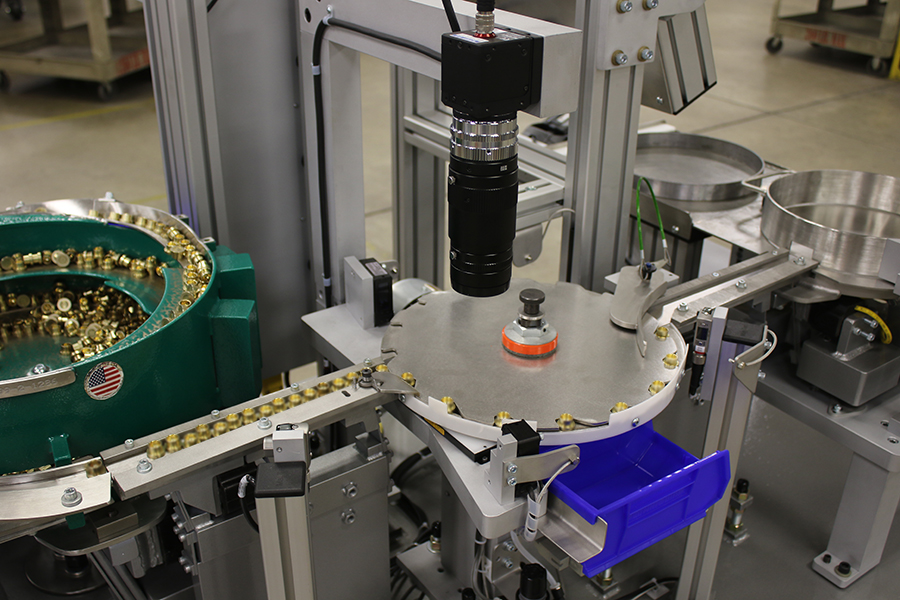
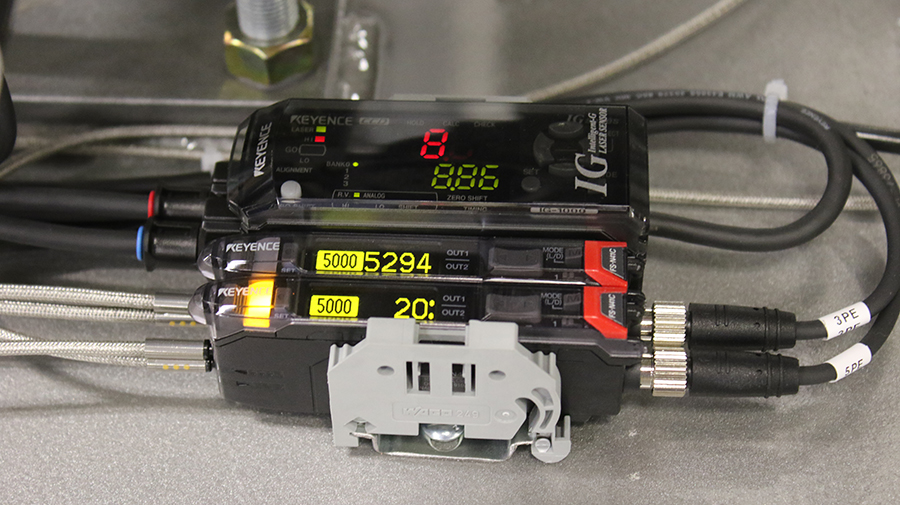
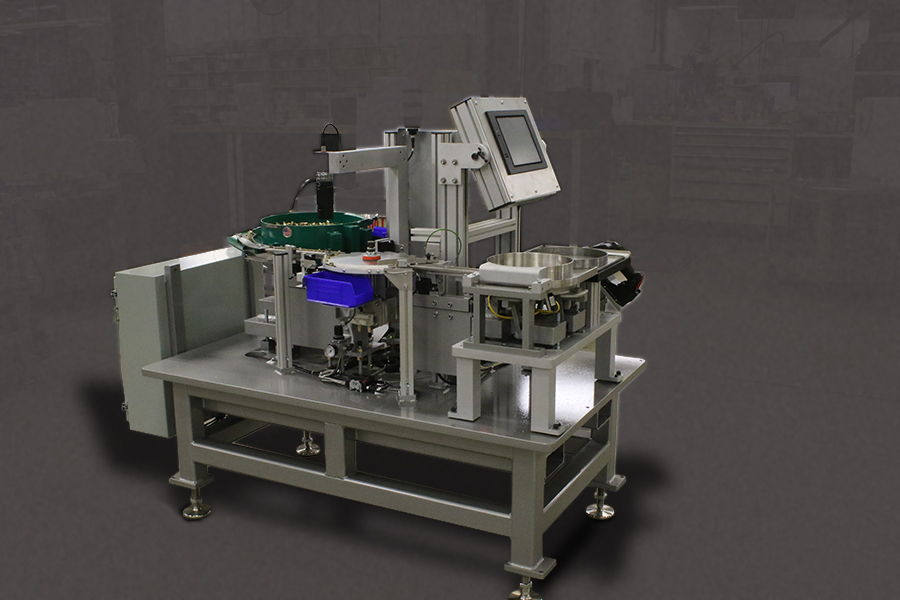
Solution: Fortville Feeders designed a feeder system that incorporated a rotating star wheel, high precision camera and laser micrometer to inspect the three dimensions. The vision systems were programmed to measure parts to within 0.001” and eject non-conforming parts. This included using a laser to check the height of each part and a vision-system camera to check for diameters.
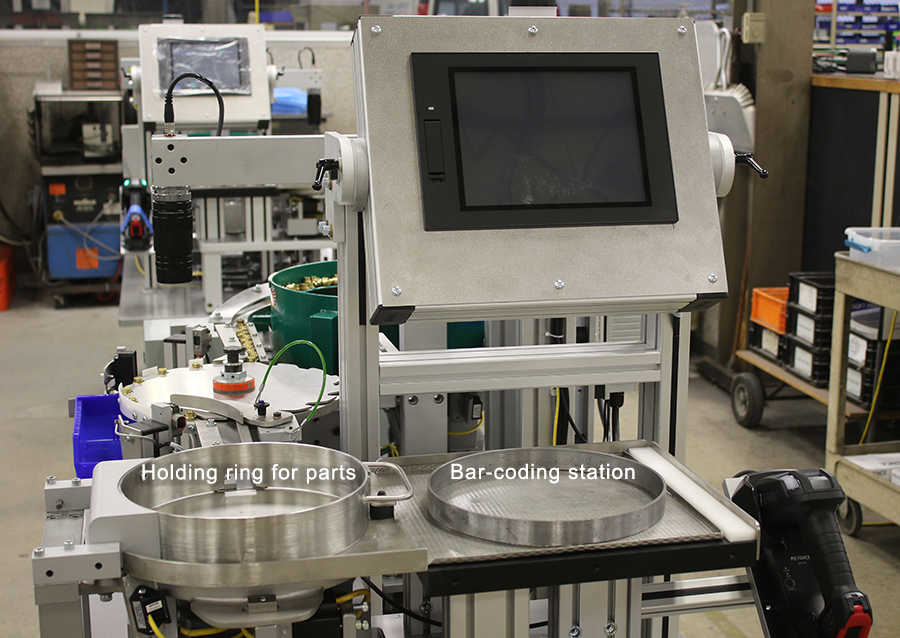
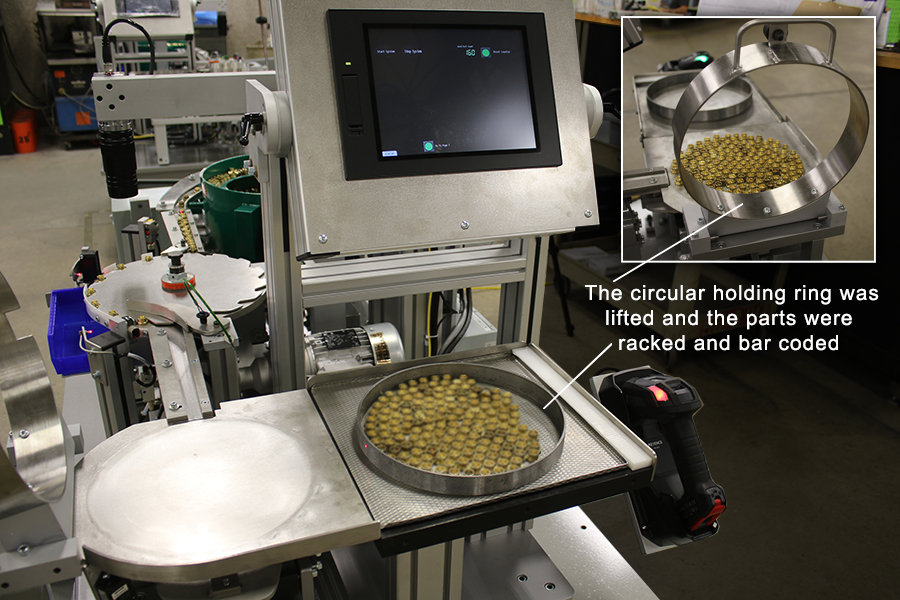
The system also included a bar code scanner to automatically change the inspection parameters, part counter that turned the machine off when quotas were reached and user interface to allow the operator access to change certain machine settings. Parts were sent to a circular ring via a vibratory track. When the quota was met, the machine automatically shut off. The operator lifted the circular pen and moved the rack of parts to a tray for transport to the next operation. The operator could then restart the machine to supply the next rack of parts or change the machine over for different parts. Fortville designed the system to have very few changeover adjustments between the 20 different part numbers. The changeover process took less than two minutes.
In the end, the customer was able to fully automate the inspection and counting of parts. The use of vision technology made the inspection process much more efficient and systematic. One operator was able to service two inspection machines at the same time. This saved valuable personnel hours, eliminated a process, added a third inspection and reduced handling errors.

Recent Comments